Some things that now seem hopelessly anachronistic and are dead cheap weren’t that cheap in former times. Artificial light, for example, was far from a commodity. Candles were, at least as far as we know, too expensive for everyday lighting, so viking-age buildings were sparsely lit. The central fireplace gave off some light, and there are several finds of items that held a liquid or solid fuel for lights.
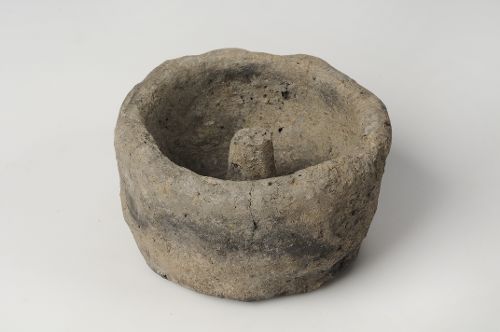
This is a find from Birka, Black Earth (various identical lamps were found in Birka).
The fuel for these lamps was quite certainly animal fat, as vegetable fats (such as olive oil, linseed oil or other vegetable oils) were, and are, too expensive to burn, and have a couple of disadvantages. One of them is the fact that animal fat, especially pig and goose lard, or beef tallow, have a higher melting point, making them easier to handle.
I have one of these lamps as a reproduction, and for the past seasons, I used it with pig lard. This type of fat is readily available in supermarkets (it’s used for cooking), and is not too expensive. However, it’s not one hundred percent authentic and – which is really annoying – it turns liquid at room temperature, making summer events a really greasy affair if the lamp falls over.
I wanted to use beef tallow for a while now, but I never found any in butcher’s shops or supermarkets. Eventually, I thought „why not make it myself?“. We are lucky to have a really awesome farmer around the corner, who raises their own cattle (organic, by the way), and is in control of the whole butchering process. To add to this, they have a son in the same kindergarden as our kids, so I went there and asked if they could help.
Alas, they had no tallow, but they were just about to bring one of their Galloways to the butcher, and promised to set aside the fat around the kidneys, which is traditionally used to make tallow.
A week ago, I picked up these lumps of fat (around 4.5kg, one of two lumps shown). They have an interesting consistency – they aren’t greasy like bacon, instead they feel like wax. I put them in the garage to wait for better weather.
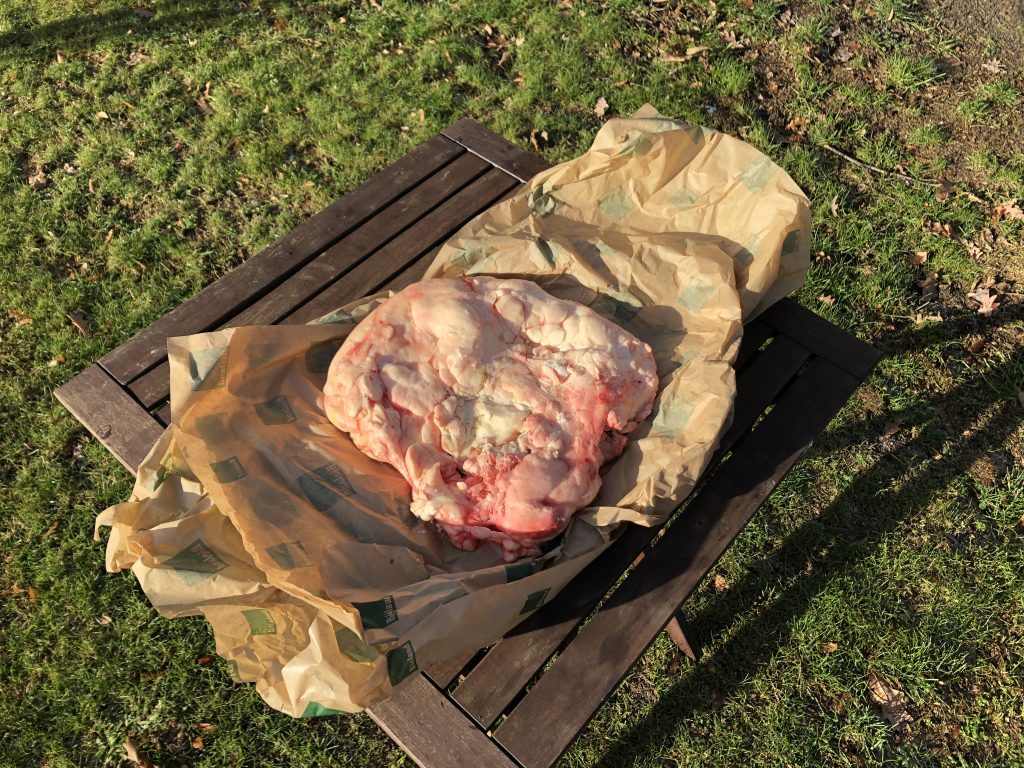
This saturday was a nice, sunny day, cold but great. I took lunch naptime as a welcome opportunity to light a fire in my outside fireplace and start making tallow.
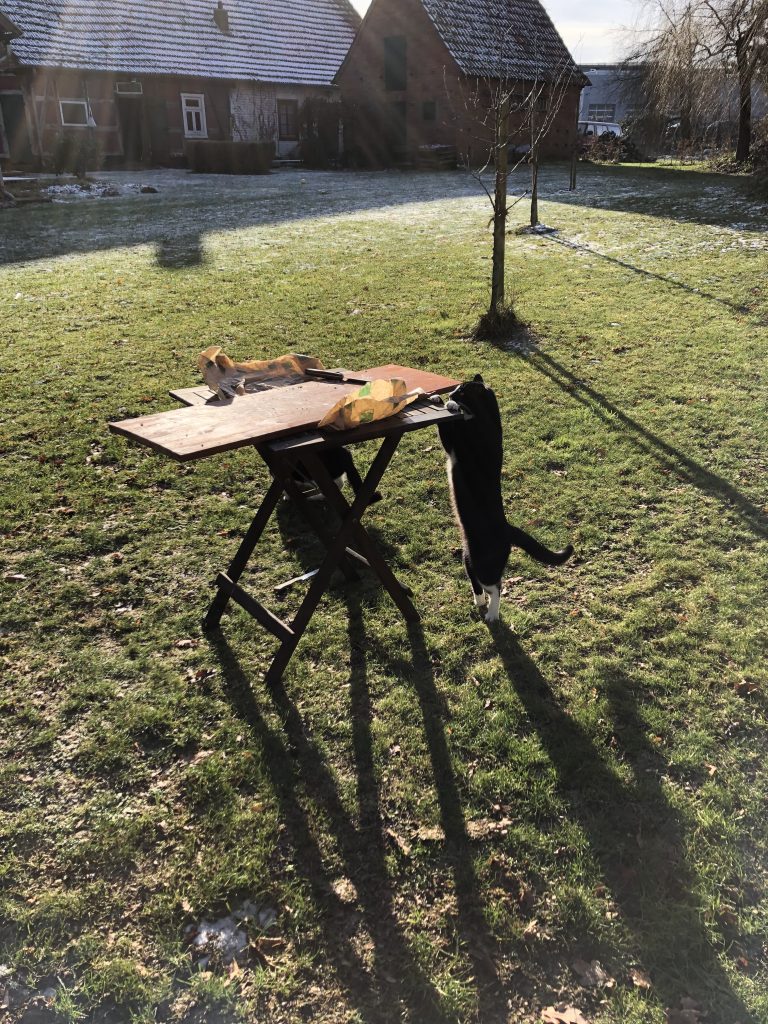
First, I cut up the first lump into small cubes – and the cats loved the scraps that fell down in the process.
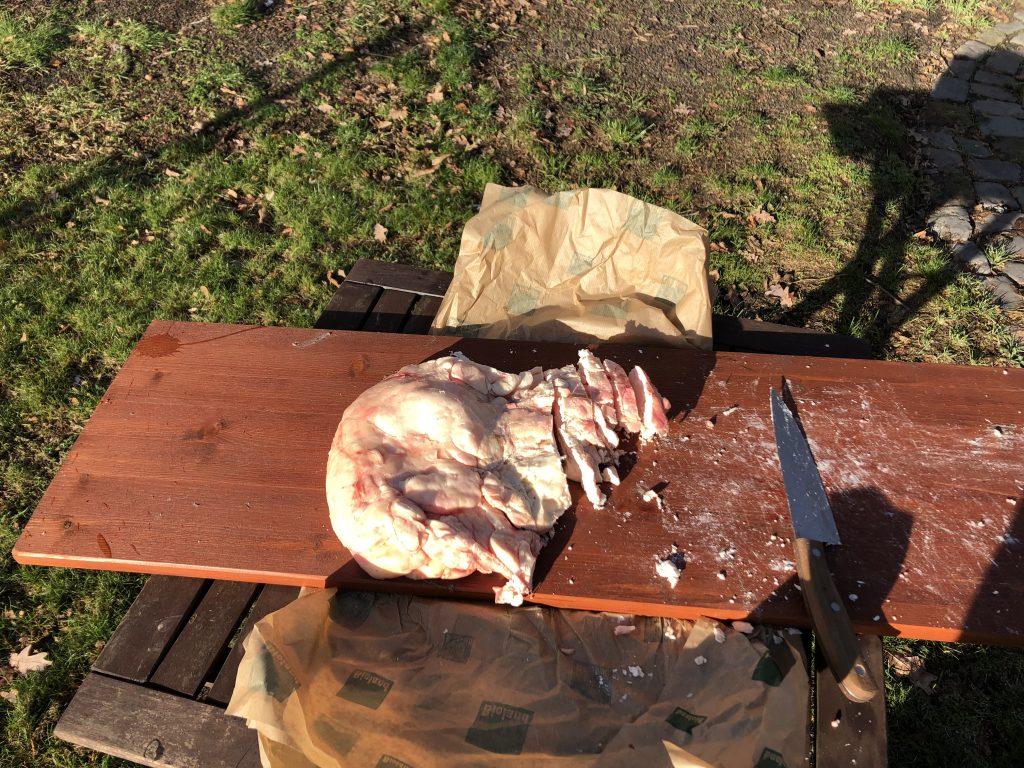
The next step was adding a little water and putting the cubes into the kettle. The water, I found out on the second run, is optional, I’d read that it makes rendering a little easier.
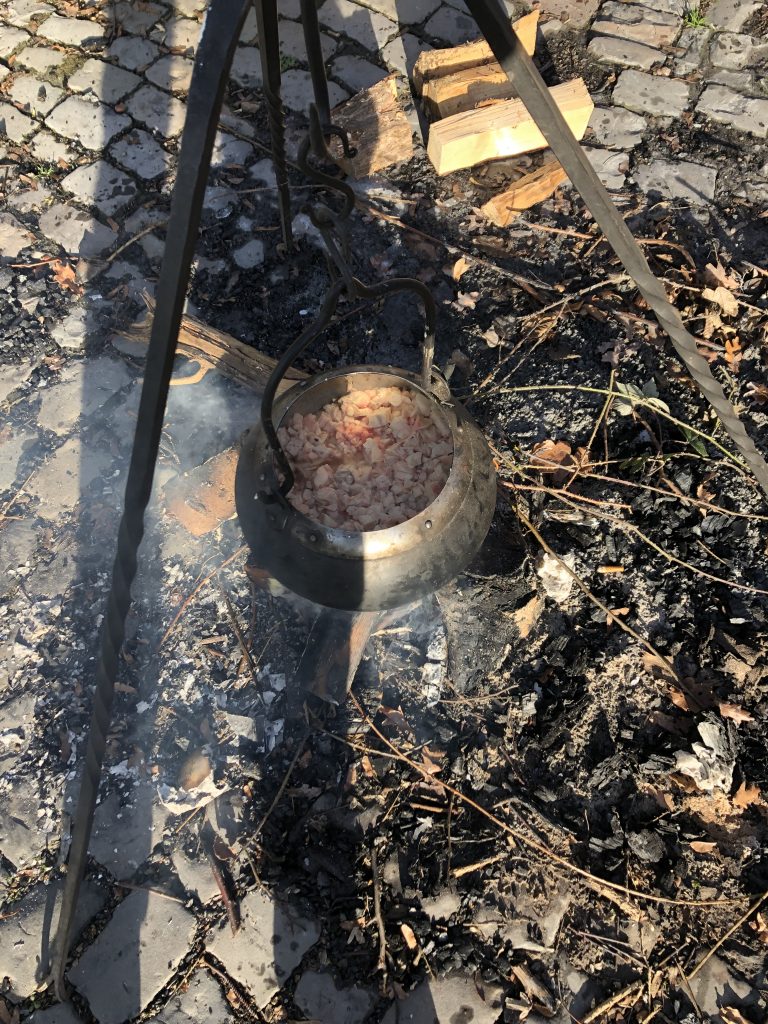
Now I let it heat up, waited until the water dissipated and started siphoning the tallow. It would have been a lot easier if I could just pour everything into a vessel, but the pot is really unwieldy and I didn’t want boiling fat all over myself.
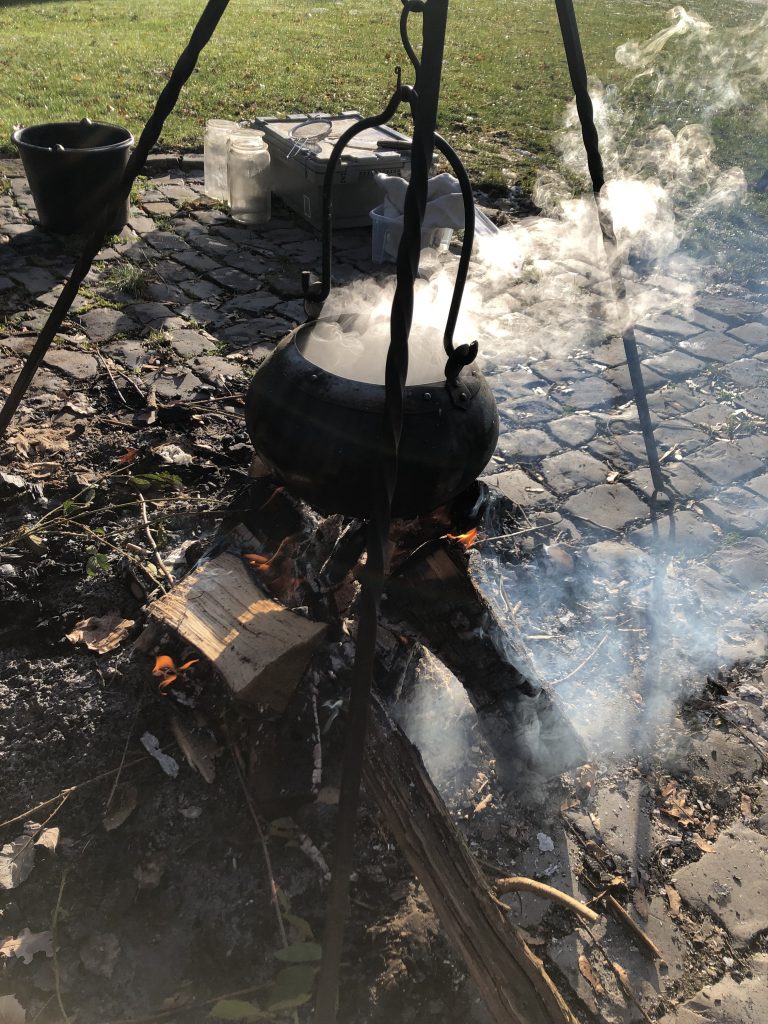
For siphoning, I used a sieve that the kids play with. Had I wanted to make tallow for eating or cosmetics, I would have used some linen, or other fabric, to get clearer results. In this case, a sieve was enough.
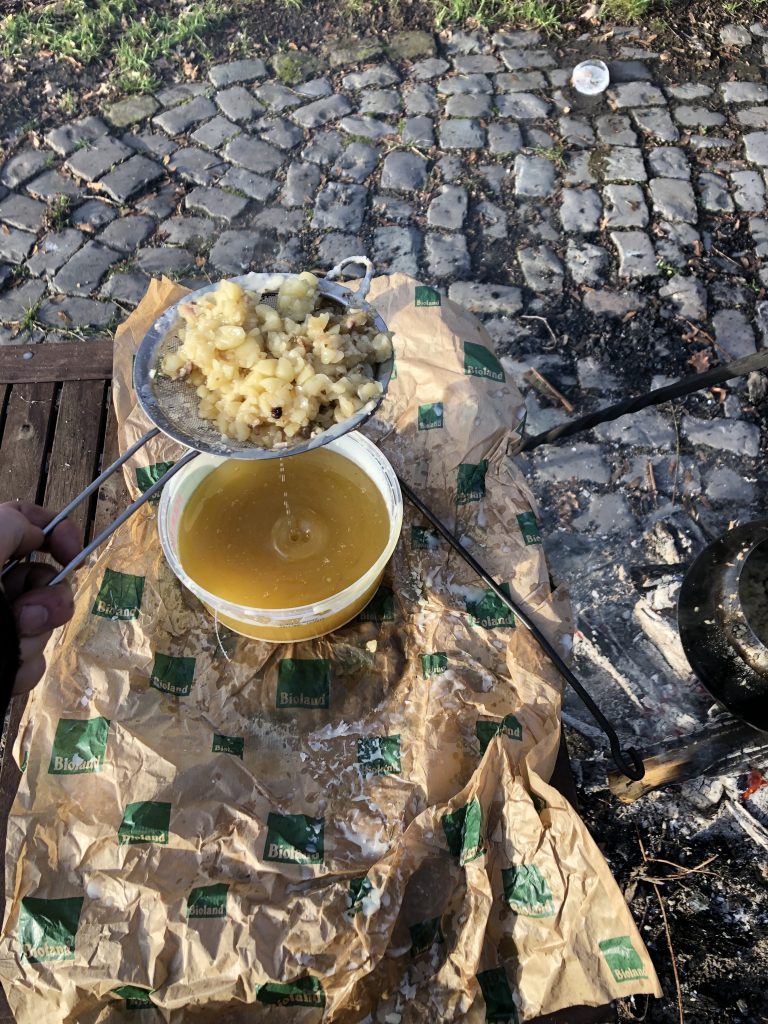
I kept doing this several times, and the pieces of fat became increasingly crisper. I threw them back into the pot to increase the yield…
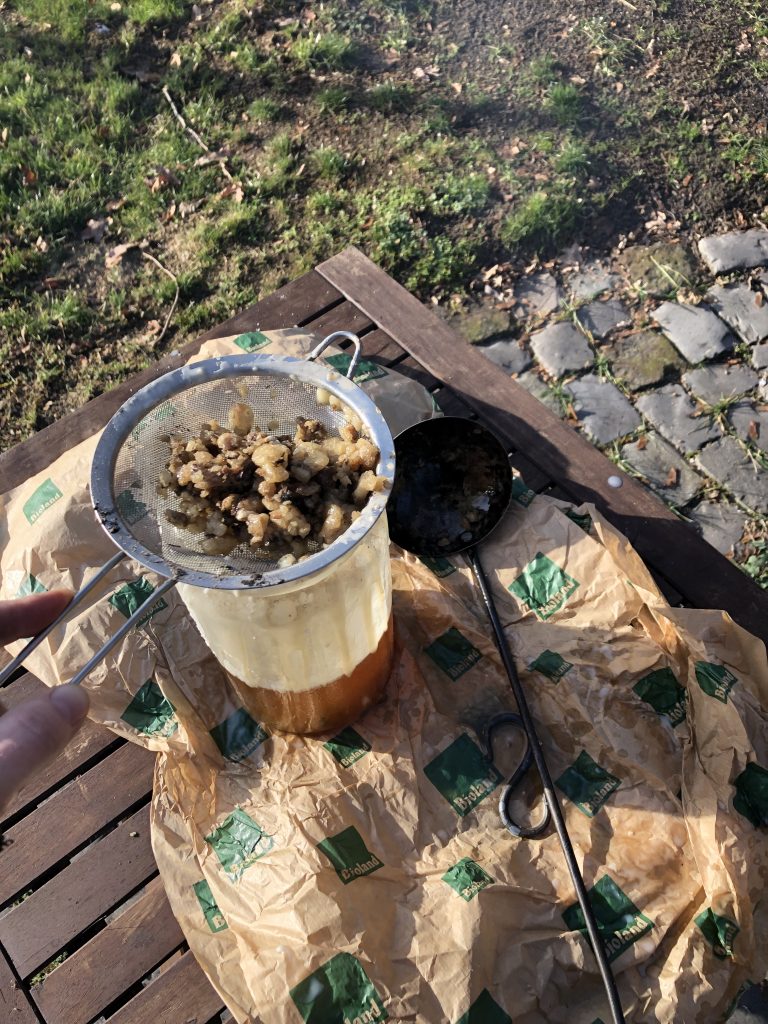
Eventually they were so crisp that they could only serve one more purpose…
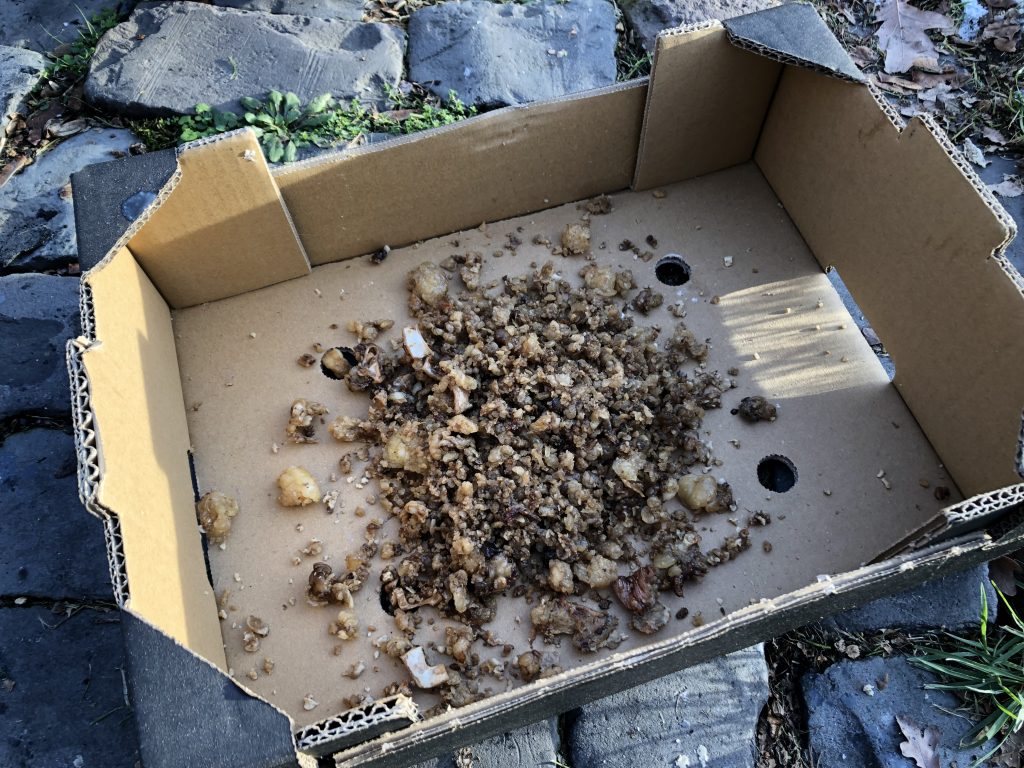
…cat snacks! I am not usually a friend of high-fat diet for our cats, but there’s talk about a really rough couple of weeks (-20°C and so on…), and maybe a little extra fat will help them stay warm outside. Or they’ll have massive diarrhoea.
The yield of the day were 1.5 big glasses of tallow (I think one might have around two liters, but I’m not sure) and a plastic container (approx. 1 liter).
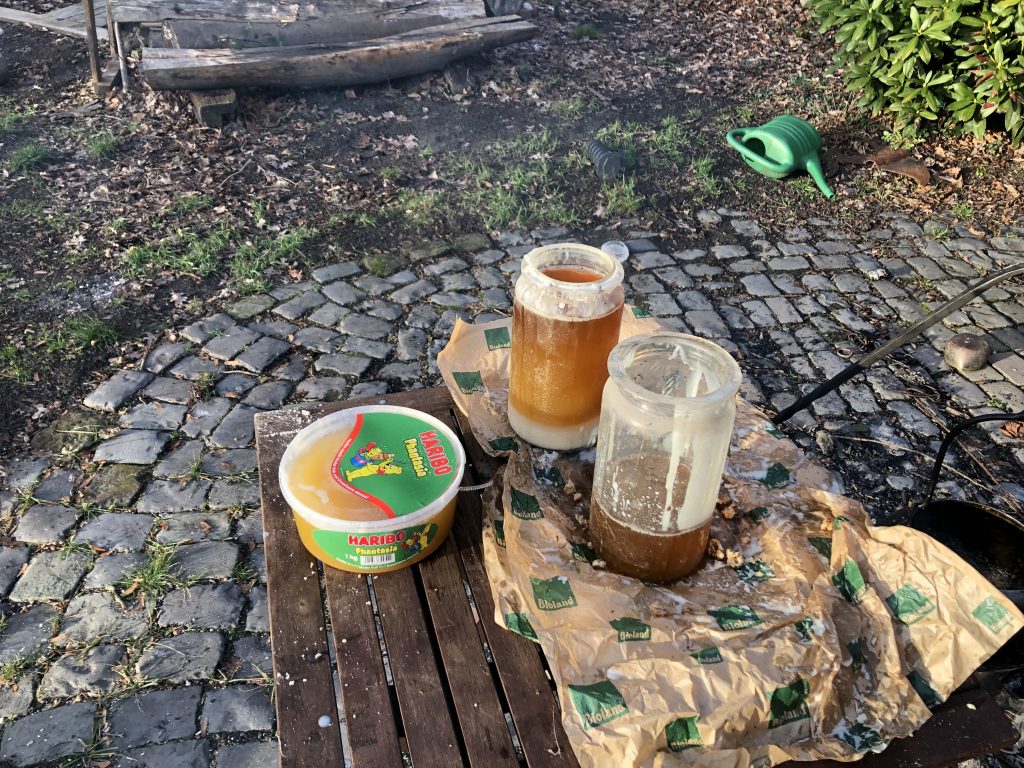
After a while, the tallow had cooled down and became about as hard as candle wax. I left it outside for natural deep freezing, but couldn’t wait to try it out. So i re-heated some of it in a small frying pan and quickly sewed a wick for my Birka light. At this point, I have to thank Katarzyna Masia Konkol for her very, very useful idea of putting a tubular wick over the cone in the middle. It works like a charm.
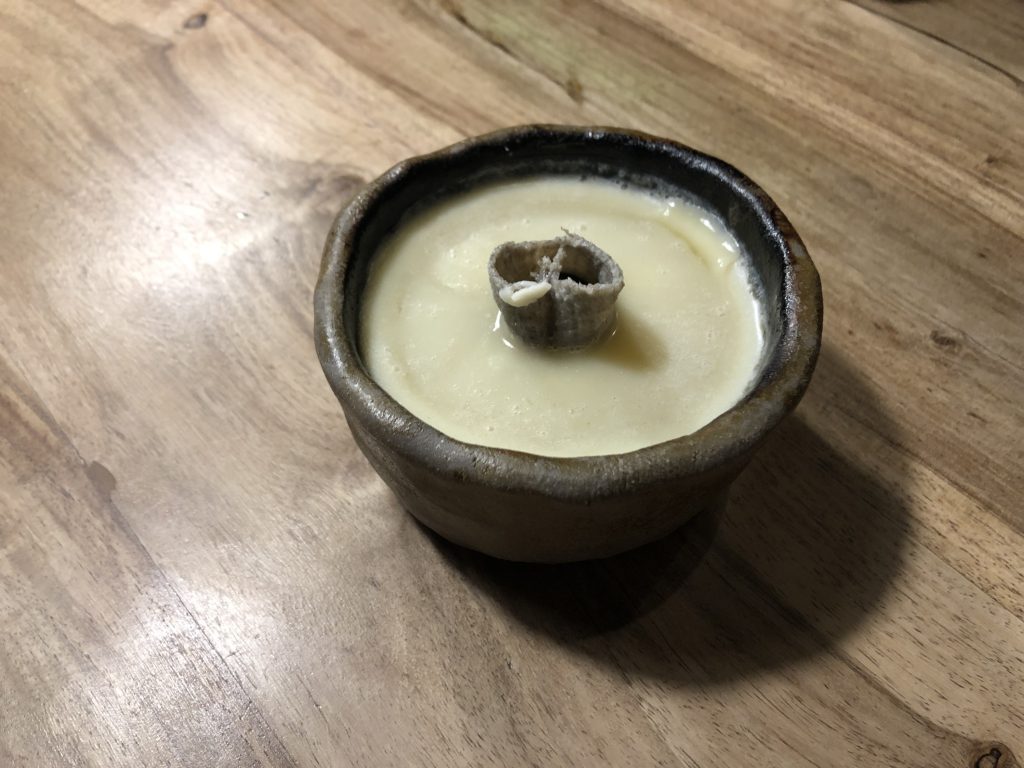
I took the light outside and lit it – and it works great!
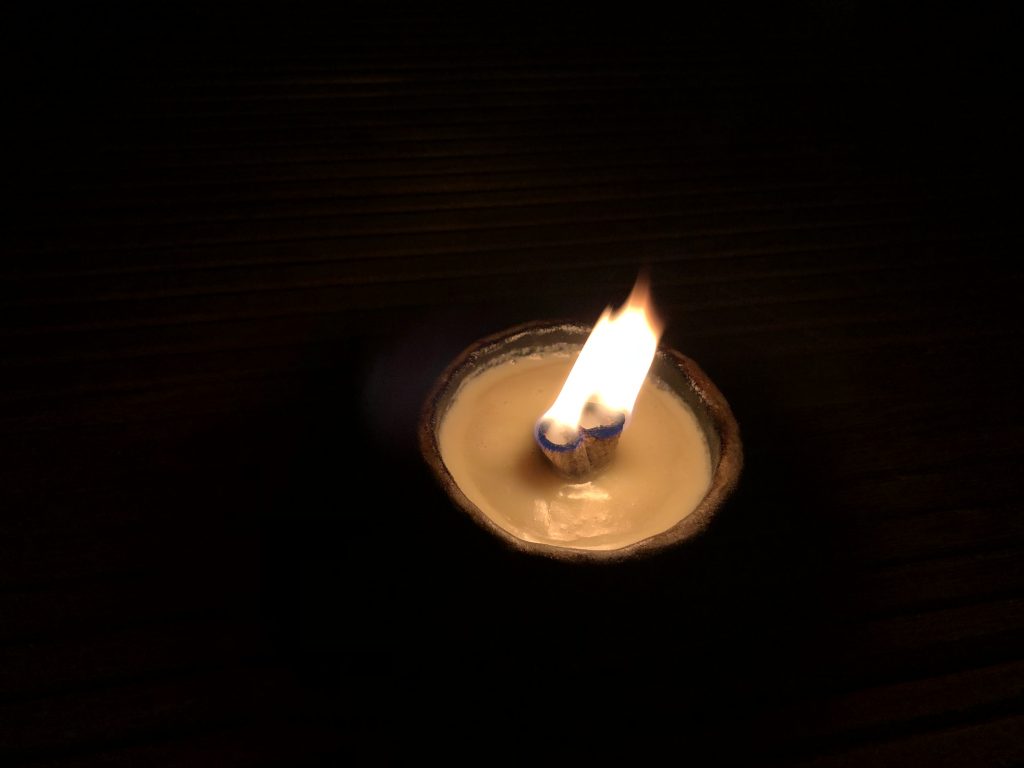
If you can get your hands on cow kidney fat, try making tallow, it’s rather easy. The smell is not as bad as you might think (still, the dripping tallow is really annoying to clean, so better make this outside), and the yield is quite good. I spent less than 10 Euro on the fat, and it gave me 3+kg of tallow.


Congratulations! Good Job!
While it is not a period technique, I found that using a stickblender to break up the fatty bits when they started to glaze,but before they became crispy, really increased the yield, and shortened the time needed to render.
About using water – in my experience pig fat renders best with frying (start with some already rendered lard) and beef/deer/goat etc fat renders best with boiling, and as a two-step process. First I boil with water, and let it cool down so the rendered tallow solidifies and floats on top of the water – then I remove the tallow ‚pancake‘, melt it again, and filter. Tallow floats but most of the impurities sink into the water, naturally separating the two and making for a cleaner product. On the other hand, as you use it for candles, it might not need to be that pure.
Thank you for the post, and I would love to learn more about the candle design!
There’s really not much to it (to the candle design, that is). The lamp finds from Birka have a nose in the center, and Masia’s idea was to sew a tubular wick from some scrap linen; then just pull that wick over the nose before pouring the tallow.
That way, the usual problems don’t happen:
1. The wick „drowning“ when it is just strung/knotted around the nose
2. The flame becoming far too big if the wick is rested on the nosetop.
3. Decentralized, asymmetrical burning of the tallow
I have yet to give this a long-term test, but I’m confident it will pass. As the lamp is burned clay, the central nose should also survive the heat of a tallow flame.
When there’s some time and the weather is better, I might re-heat the tallow and try to make some small candles with the kids. They made beeswax candles last year and quite enjoyed the process.
How do you make the wicks?
I’ve done this myself. Another thing you can do is harvest reeds and make rush lights.
Forgot to say, dip dried reeds in melted tallow.
That’s a great idea. I have two questions though:
a) Where to find reed? (That’s a rhetorical one, it’s just not the right season now)
b) Are there viking-period finds of rush light holders, or would it rather have been a kind of rush candle?
There are possible rush light holders from Coppergate in York 🙂
This was good. I don’t think I had heard that the Kidney fat is the best. And I thought your friend’s idea of making a sleeve wick was brilliant.
Fun fact: Belgian fries are made with cow kidney fat 😉
Awesome … one question how do you storage the tallow ? keep it in a freezer or outside? Because I reckon if you have quite a bit it might go bad after a while?
Excellent question, Angelika!
My first batch of tallow was stored in large pickling glasses in my garage. There were essentially two problems:
1. The fat goes rancid after a while. This is not a problem for me because I don’t intend to eat it
2. The parts of the tallow which aren’t exposed to air go moldy after a while. I solved this by freezing the moldy tallow.
For the second batch, I have modified my modus operandi.
1. I poured the liquid tallow into forms to make cubes of about 5x6x5 cm each. These are enough for about half a lamp filling.
2. I borrowed a vacuum packing machine and vacuumed the tallow pieces
3. Unused tallow pieces are put in the freezer.
The better you filter the tallow, the less mold problems occur, but freezing is really the easiest way to prevent mold.
Great job and very good tutorial. I have one question. How much does a candle smoke after lighting? Can it be used indoors?